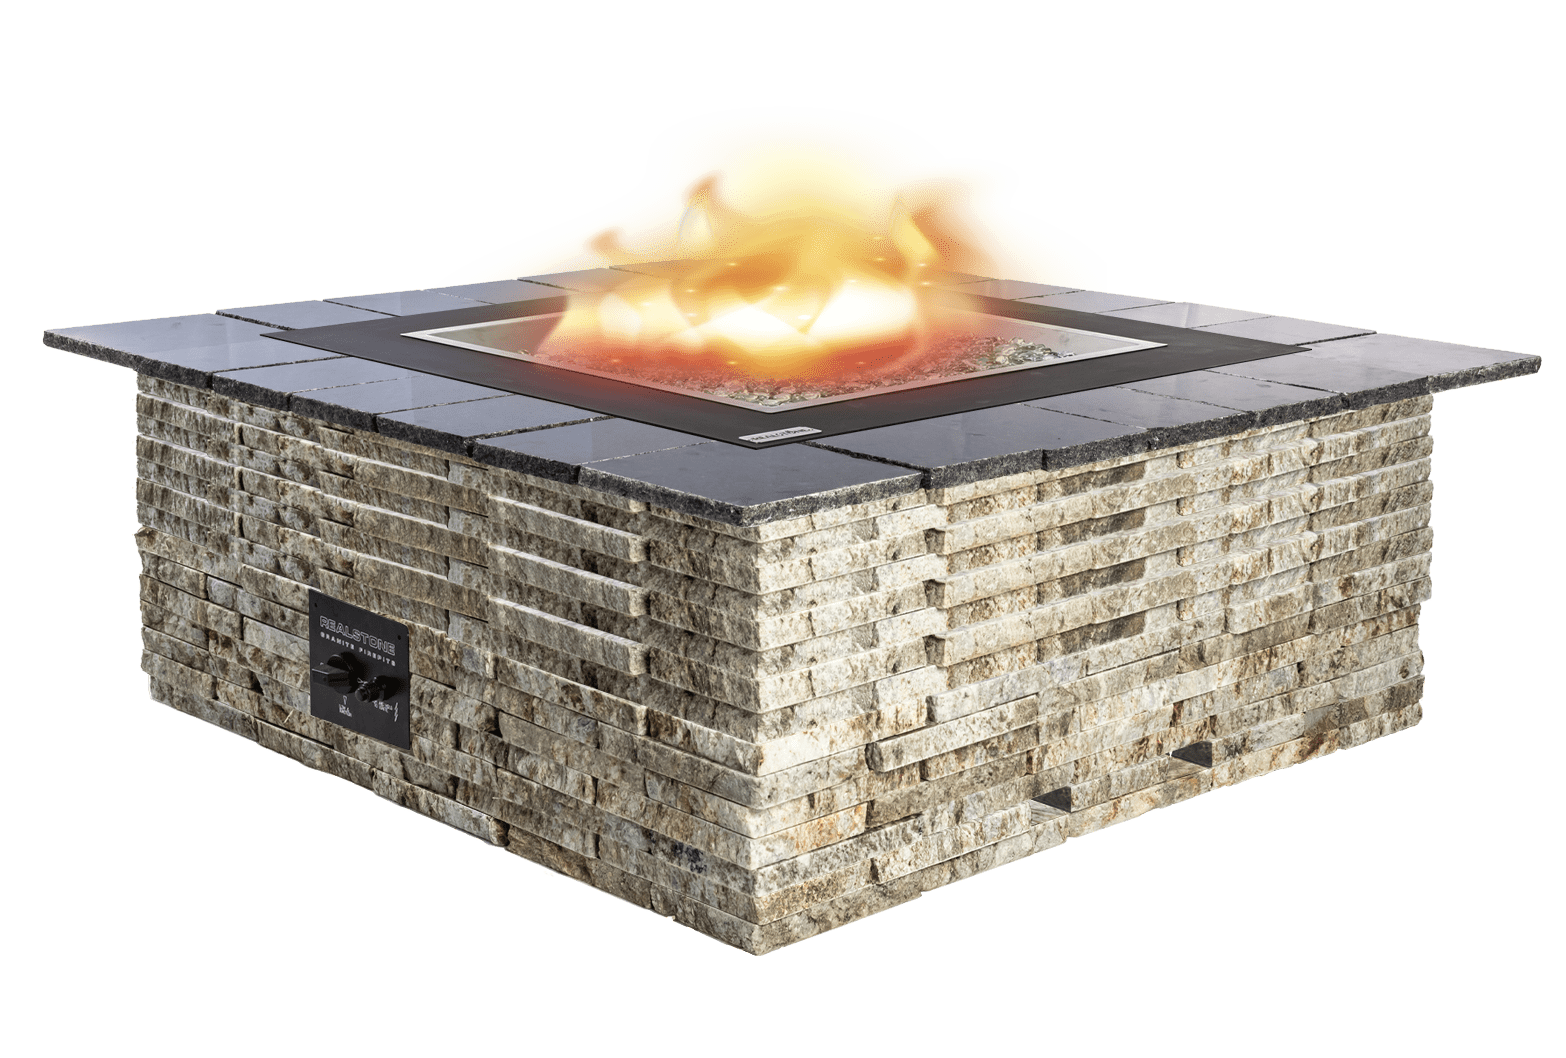
How to Build Your Propane Fire Pit
Before you get started, select a desirable and safe location for your firepit away from buildings, tree branches, and/or a wooden gazebo or pergola, and then proceed with the following steps.

Step 1
1
Step 2
2
Step 3
3
Step 4
4
Step 5
5
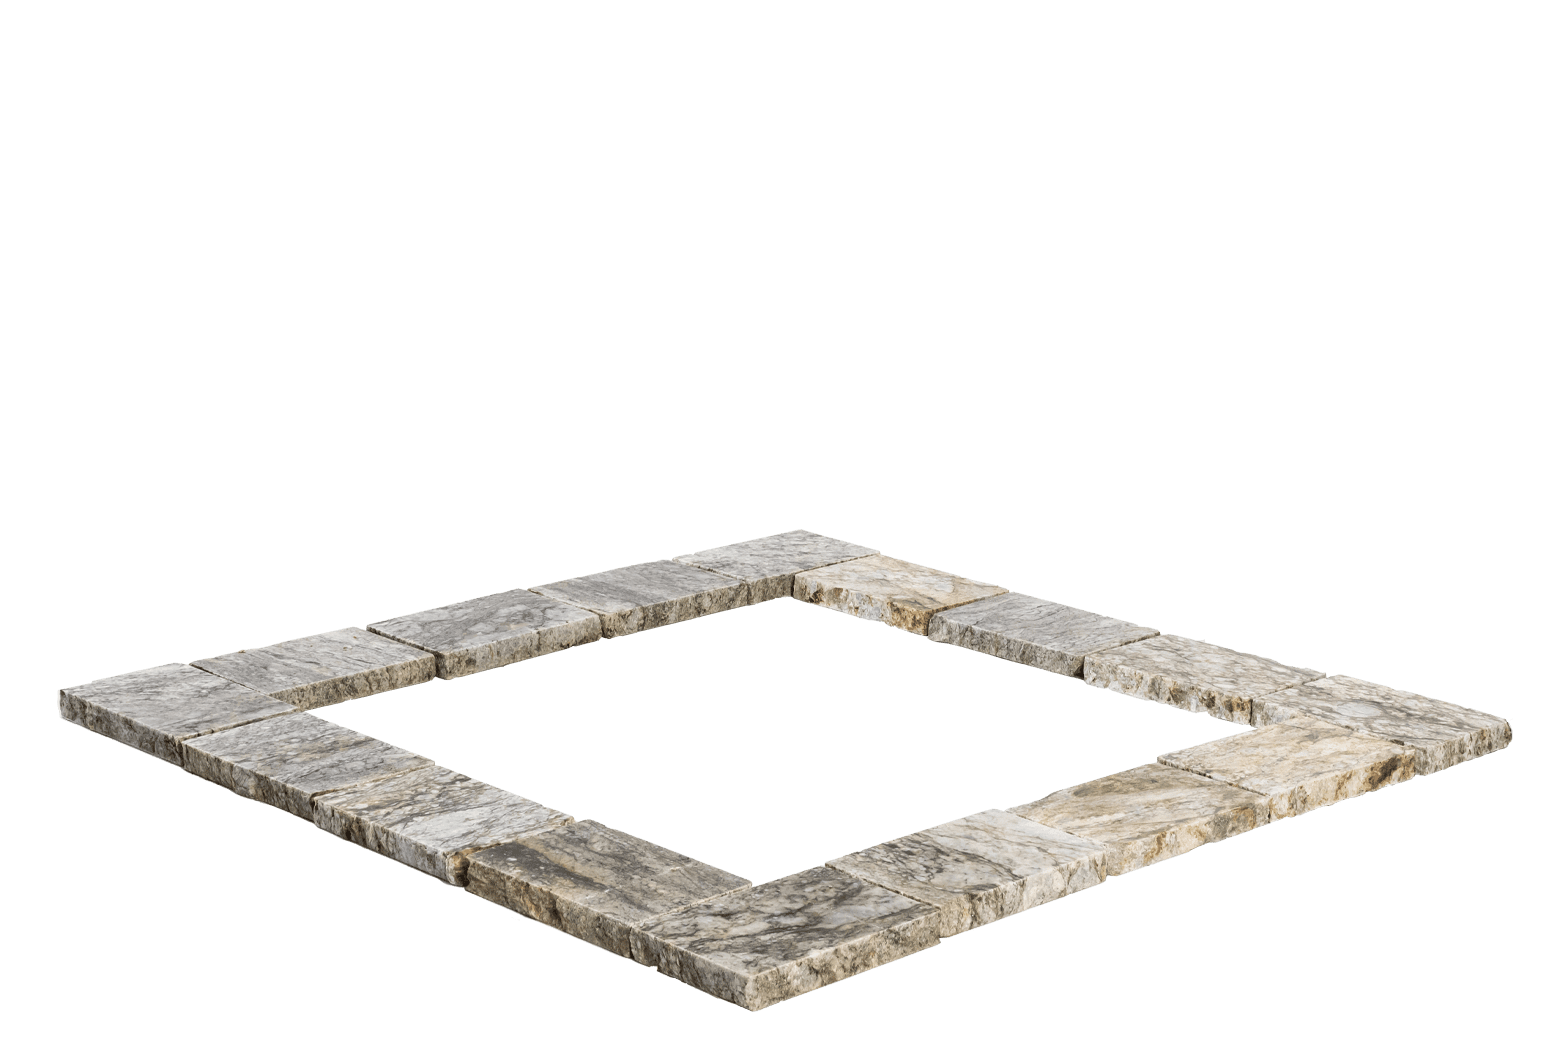
Clean granite pieces with water and a nylon brush.
Identify the outdoor spot where you would like to set up your fire pit. Be sure to avoid overhanging tree branches.
Lay the first row of granite. Ensure this row is on a level surface.
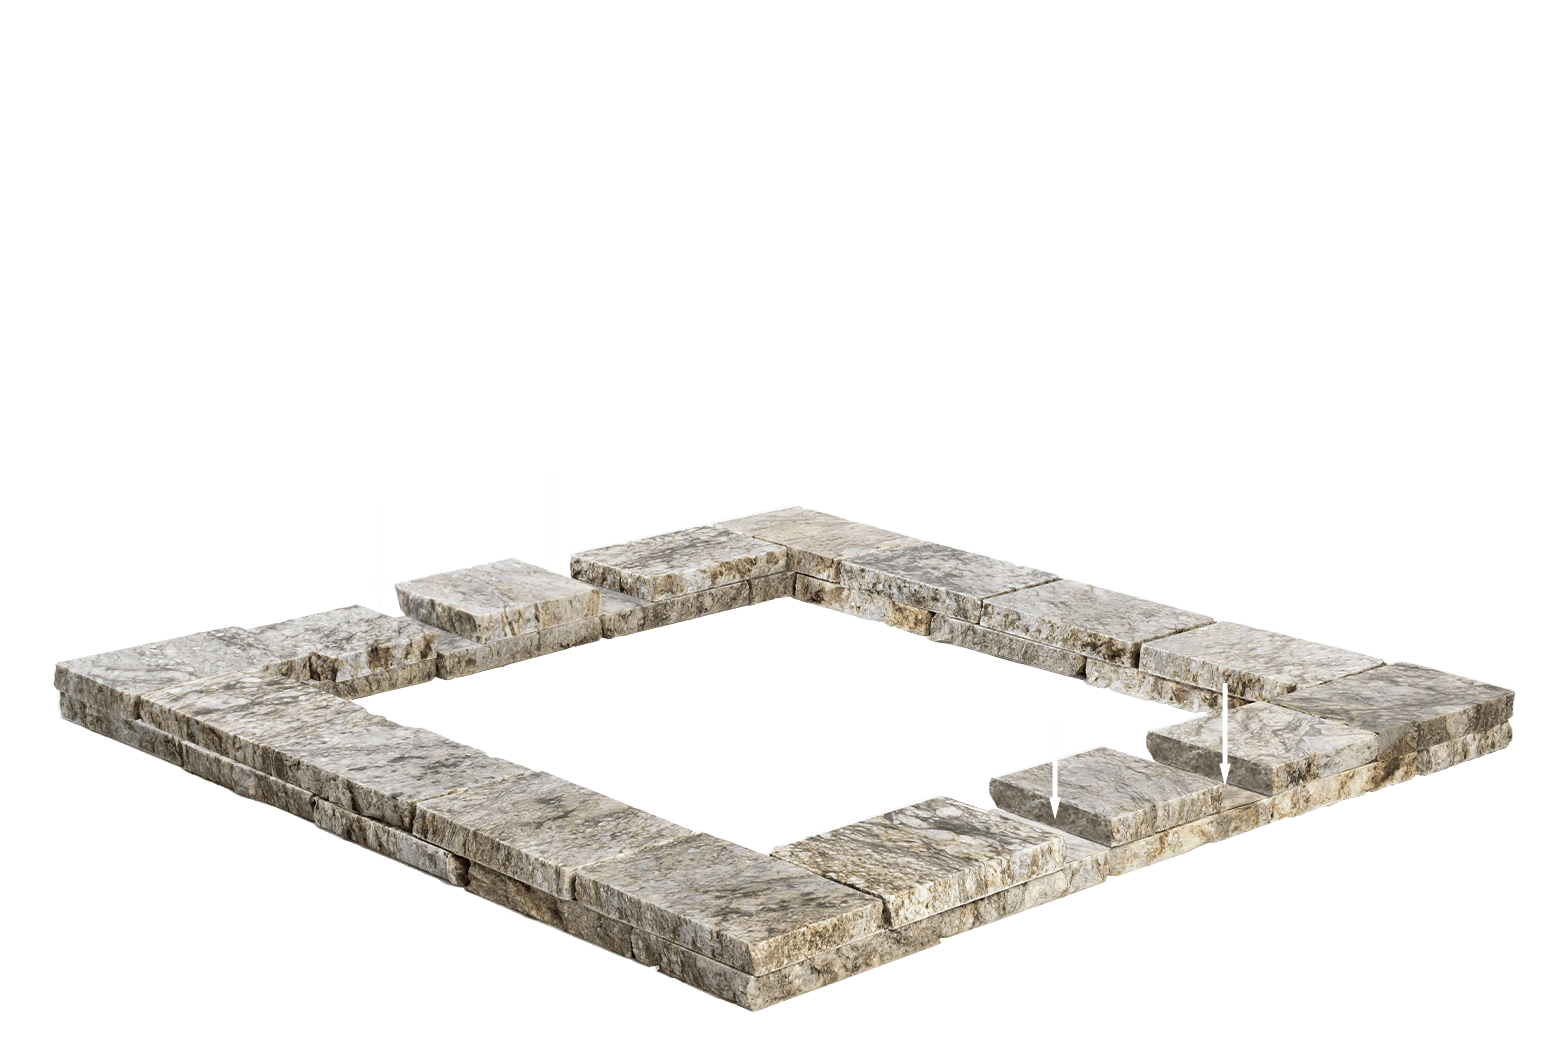
Continue to dry-stack or adhere the granite pieces by staggering the joints.
For the second row, you’ll need to create ventilation gaps on opposite side of your propane fire pit. To do so, replace two full granite pieces with the half-sized ones.
Cut and secure wire mesh to the inside walls of these gaps so rodents don’t make your fire pit home.
Check for vertical plumb. If you need to level the granite, mix a teaspoon of sand with exterior grade silicone, PL 620 Granite/Marble, or PL Premium Constructive Adhesive, and apply this mixture between the rows.
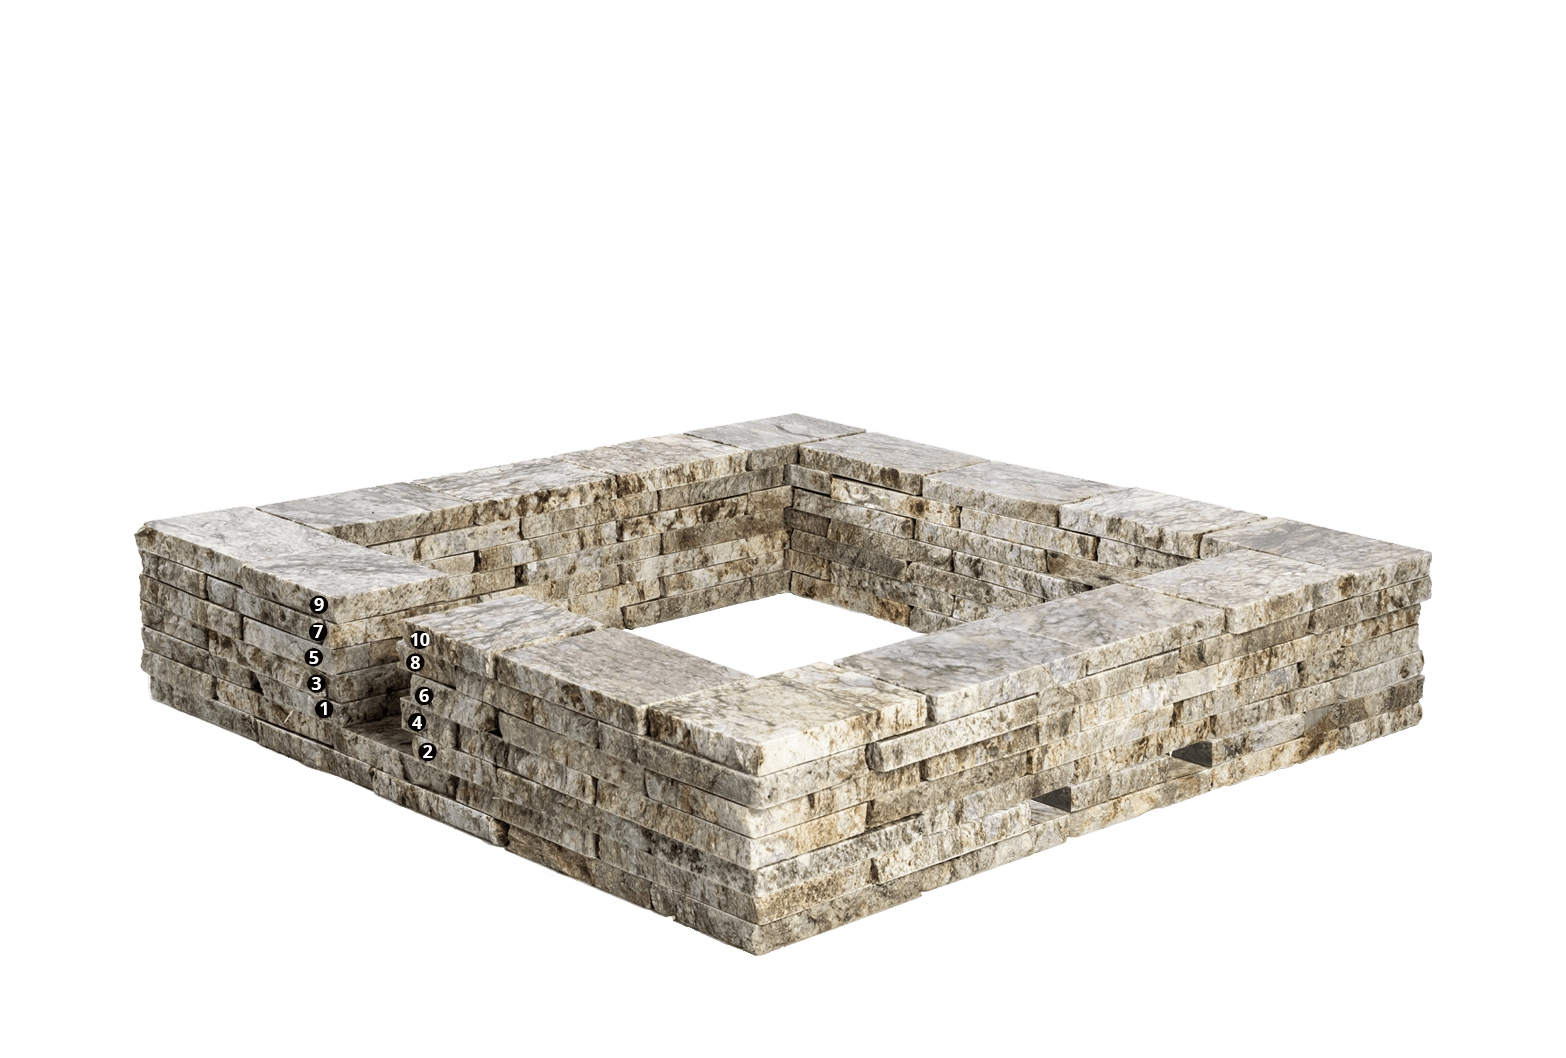
Determine the location of the control panel for your propane fire pit. Select a spot that is the least visible.
To create a space where the control panel goes, omit the granite pieces by using those that we’ve numbered for you.
Lay the remaining granite pieces to your desired height.
Ensure the assembled base is level and plumb. Inside this base, insert the steel burner bracket.
The flange of the bracket can rest either above or under regular-sized top caps. If you purchased oversized caps, secure them under the flange for stability and safety.
Drill four holes into the exterior granite base in order to screw and adhere the cover plate.
Attach the sparker and control valve to the plate.
If you will be using a propane tank as your fuel source, insert it into the granite base. This way, you’re able to hide the propane tank inside your granite fire pit!
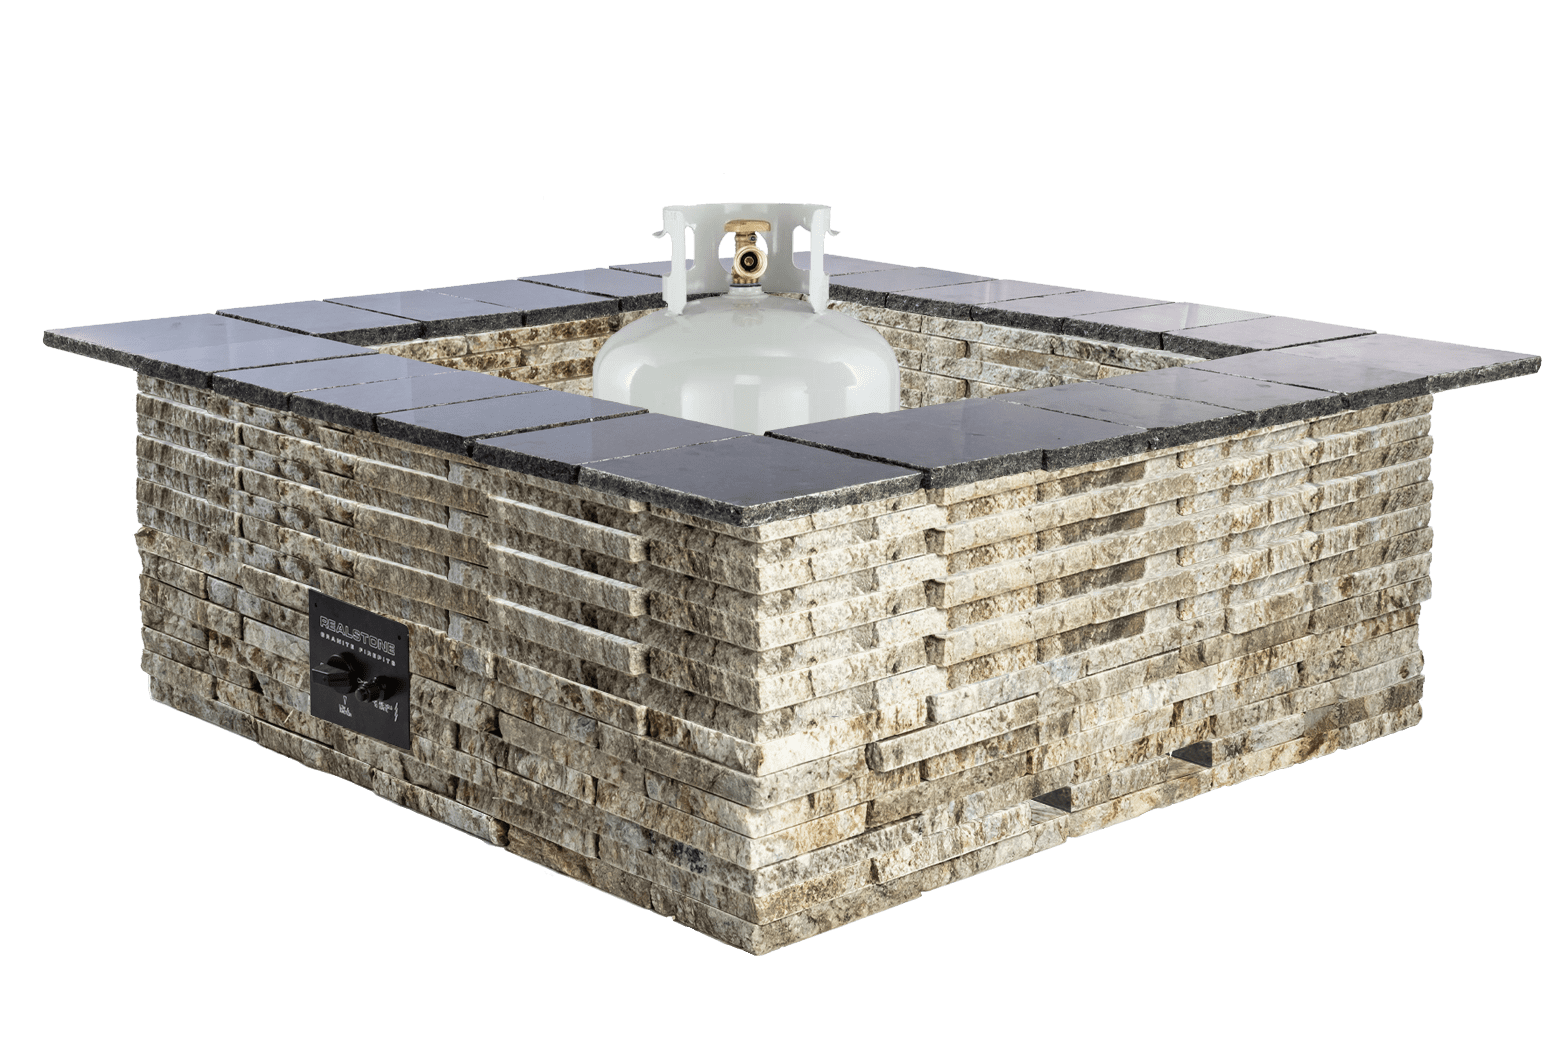
Connect the flex hose to your propane tank or supply line according to the burner instructions.
Add glass beads or lava rocks.
You’re all set to enjoy your propane fire pit.
Shapes & Pieces per Row
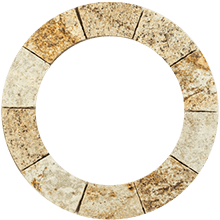
Round 35
10 pieces per row
Round 48
13 pieces per row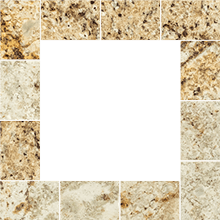
Square 35
12 pieces per row
Square 45
16 pieces per rowRead Safety Document